How to Create a Business Website for Free with AI: Complete Guide with Lovable.dev
If you're looking for how to create a business website without spending a fortune, you're in the right place. Website creation for free is possible today thanks to AI—and in this guide we show you exactly how to create a business website for free with AI using Lovable.dev. Whether you're asking "how to create my business website" for the first time or want a clear path from idea to live site, this guide walks you step-by-step from opening www.lovable.dev to publishing your first website, with a visual step-by-step and a pro tip on preparing a PRD so the AI stays on track.
Why Create Your Business Website with AI?
Creating a business website used to mean hiring developers or learning code. Today, AI-powered tools like Lovable.dev let you describe what you want in plain language and get a working site in minutes. You get website creation for free (on the free tier), no coding required—ideal for small businesses, freelancers, and anyone who wants to go from idea to live site fast.
What Is Lovable.dev?
Lovable.dev is an AI-powered app and website builder. You describe your project in chat—e.g. "A landing page for my bakery with menu, hours, and contact form"—and the AI generates and updates the site as you iterate. It's one of the easiest ways to create a business website for free with AI and is great for landing pages, portfolios, and simple business sites.
Step-by-Step: From www.lovable.dev to Your Published Website
Every step below includes what to do and where to click. Add your own screenshots to the paths listed in the blog images folder for a full visual guide.
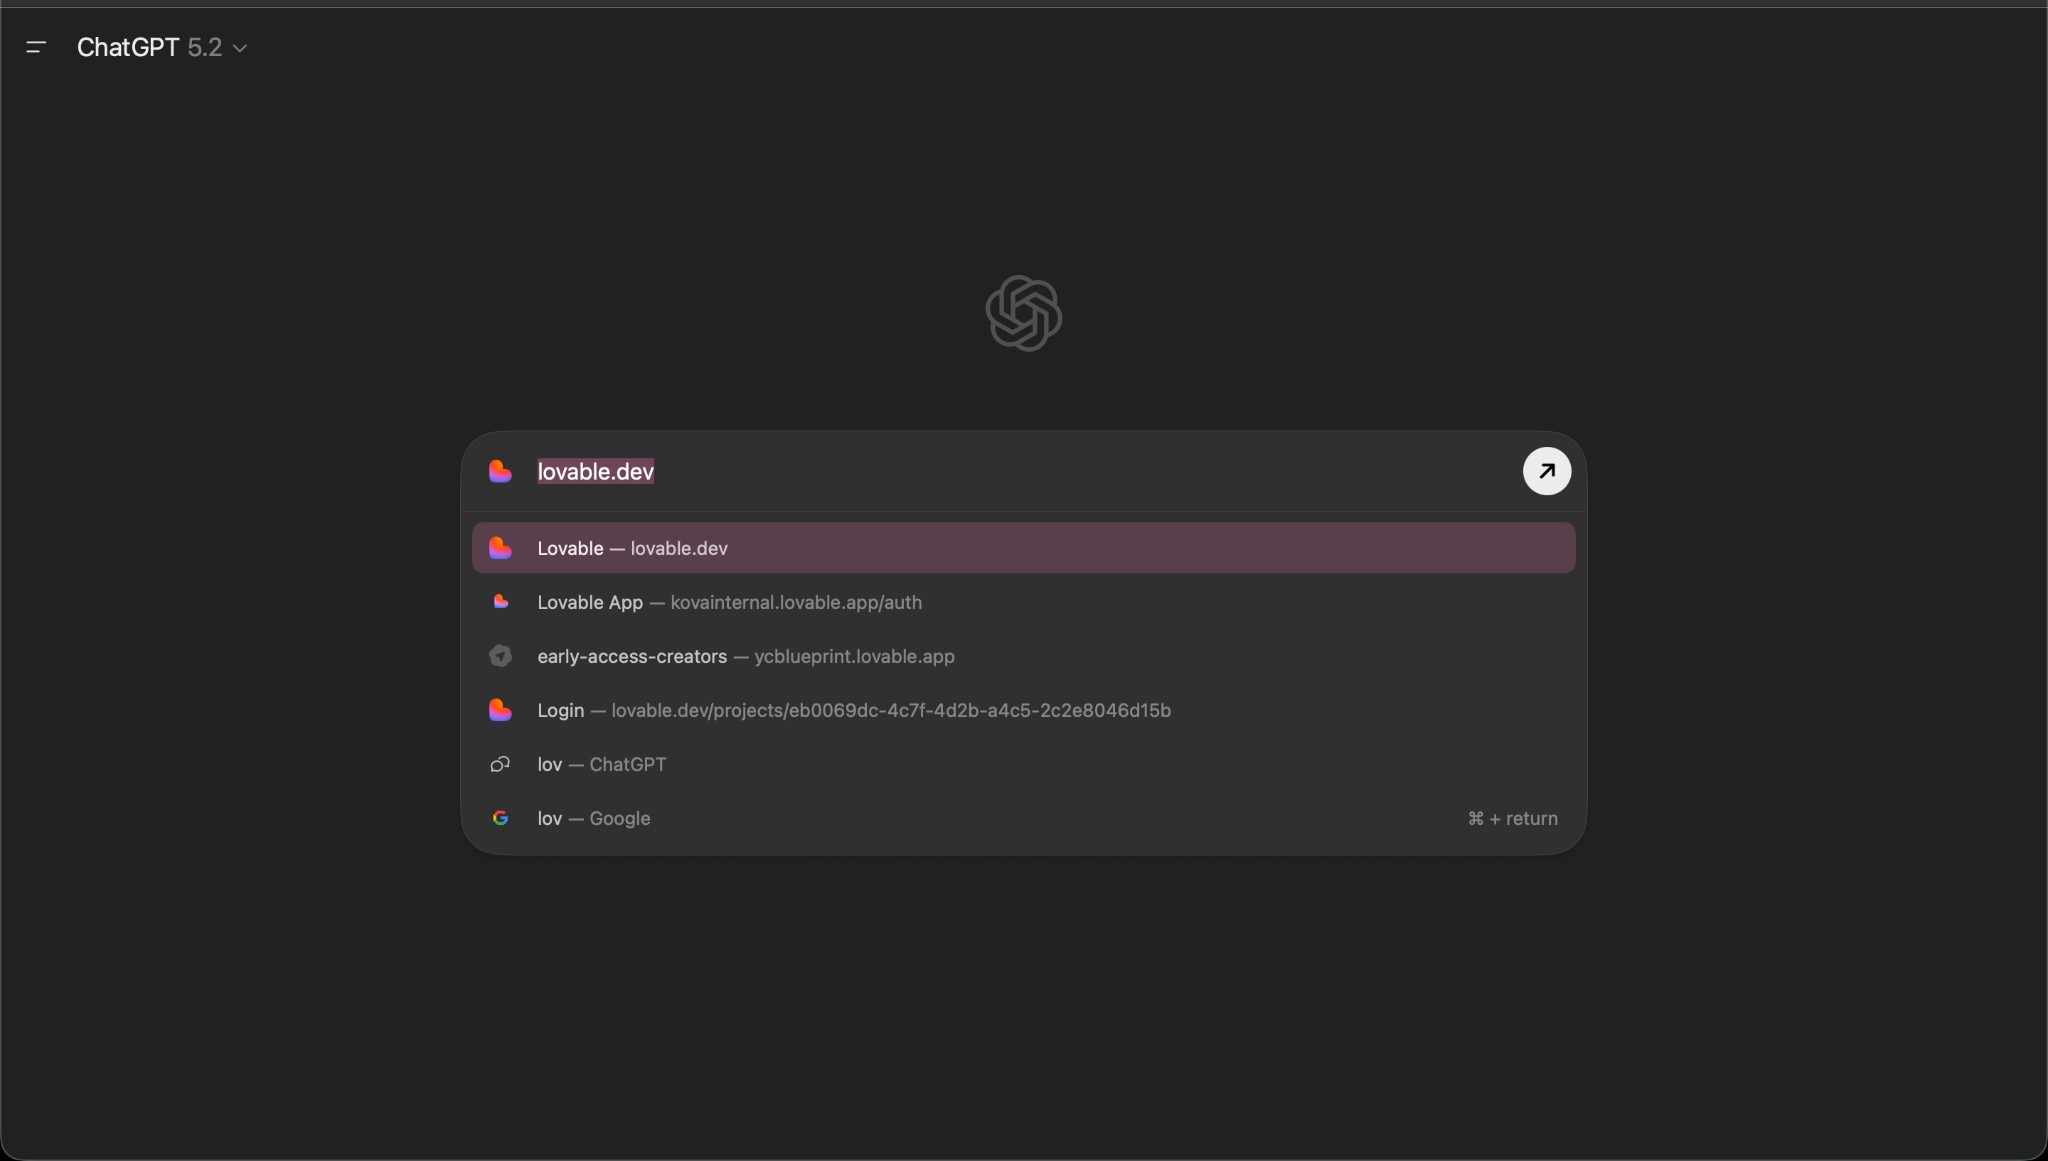
Step 1 — Open Lovable.dev
What to do: In your browser, go to www.lovable.dev (or search for "lovable.dev" and open the official site).
Where to click: You don't need to click anything yet—just land on the homepage. You should see the Lovable branding and options to sign up or log in.
Step 2 — Create an Account
What to do: Sign up for a free account so you can save and publish your project.
Where to click: Click "Sign up" or "Get started" (usually top-right). Sign in with Google, GitHub, or email as offered. Complete any verification if prompted.
Step 3 — Prepare Your Idea (Pro Tip: Use a PRD or Doc)
Before you start building, spend a few minutes writing down what you want. This helps the AI stay focused and reduces vague or off-target results.
- Option A — Product Requirement Document (PRD): In a doc, list: goal of the site, main pages (e.g. Home, About, Services, Contact), key content (headlines, short descriptions), and any must-have features (contact form, opening hours, etc.). Keep it short (one or two pages).
- Option B — Separate “Product requirements” note: If you prefer, write a separate short note that only describes features and content (no need to call it a full PRD). The idea is to give the AI clear, concrete requirements.
Why this helps: When the AI has a clear list of requirements, it’s less likely to "hallucinate" or add things you didn’t ask for. This is a pro tip that improves both quality and consistency. You can write this in Google Docs, Notion, or any editor—or use ChatGPT to help you: e.g. "I want a business website for [your business]. Generate a short PRD with pages and features." Then paste or summarize that into Lovable. You can also use ChatGPT throughout the process to refine copy or ideas before you type them into Lovable.

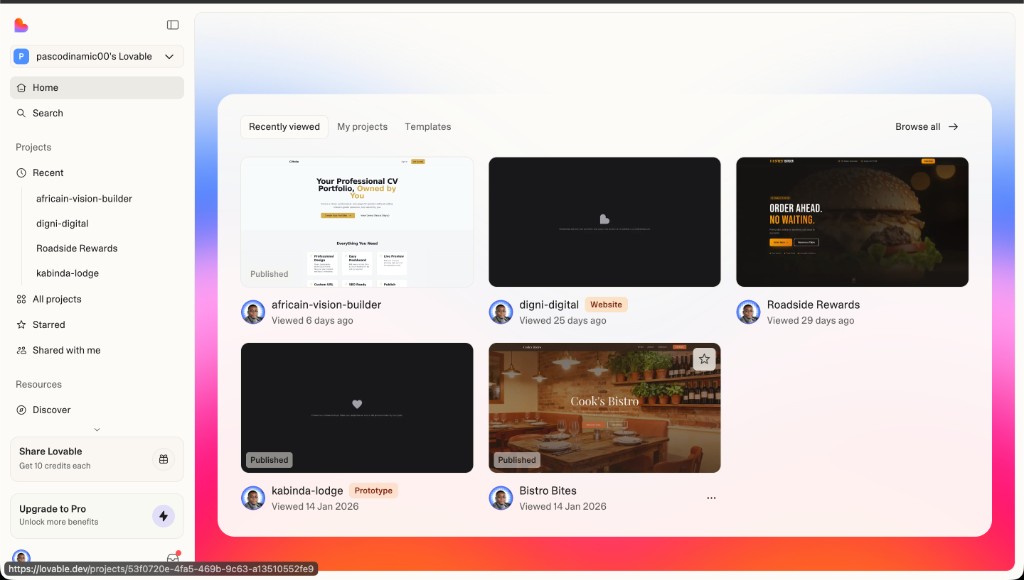
Step 4 — Create a New Project
What to do: From your dashboard or home, start a new project.
Where to click: Click "New project", "Create project", or the equivalent button (often on the dashboard or top-right). Give the project a name (e.g. "My Business Website") and confirm.
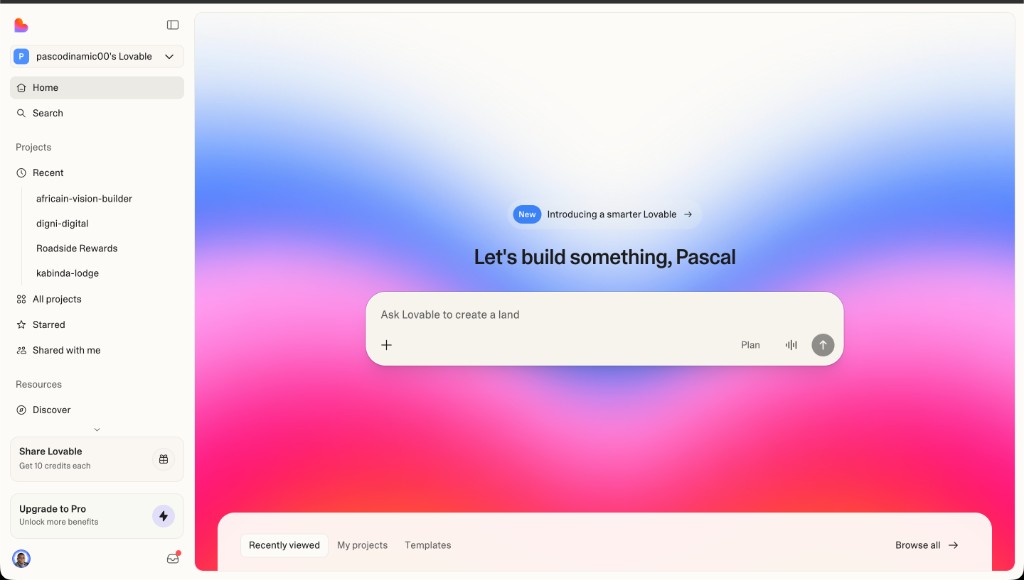
Step 5 — Describe Your Website in the Chat
What to do: In the project’s chat, describe the website you want. Use your PRD or notes if you prepared them. Be specific: type of business, pages, tone (professional, friendly, etc.), and any features (contact form, CTA buttons, etc.).
Where to click: Click into the chat input at the bottom (or wherever the prompt box is), type or paste your description, and send (Enter or Send button). The AI will generate your initial site. Wait for the first version to appear in the preview.

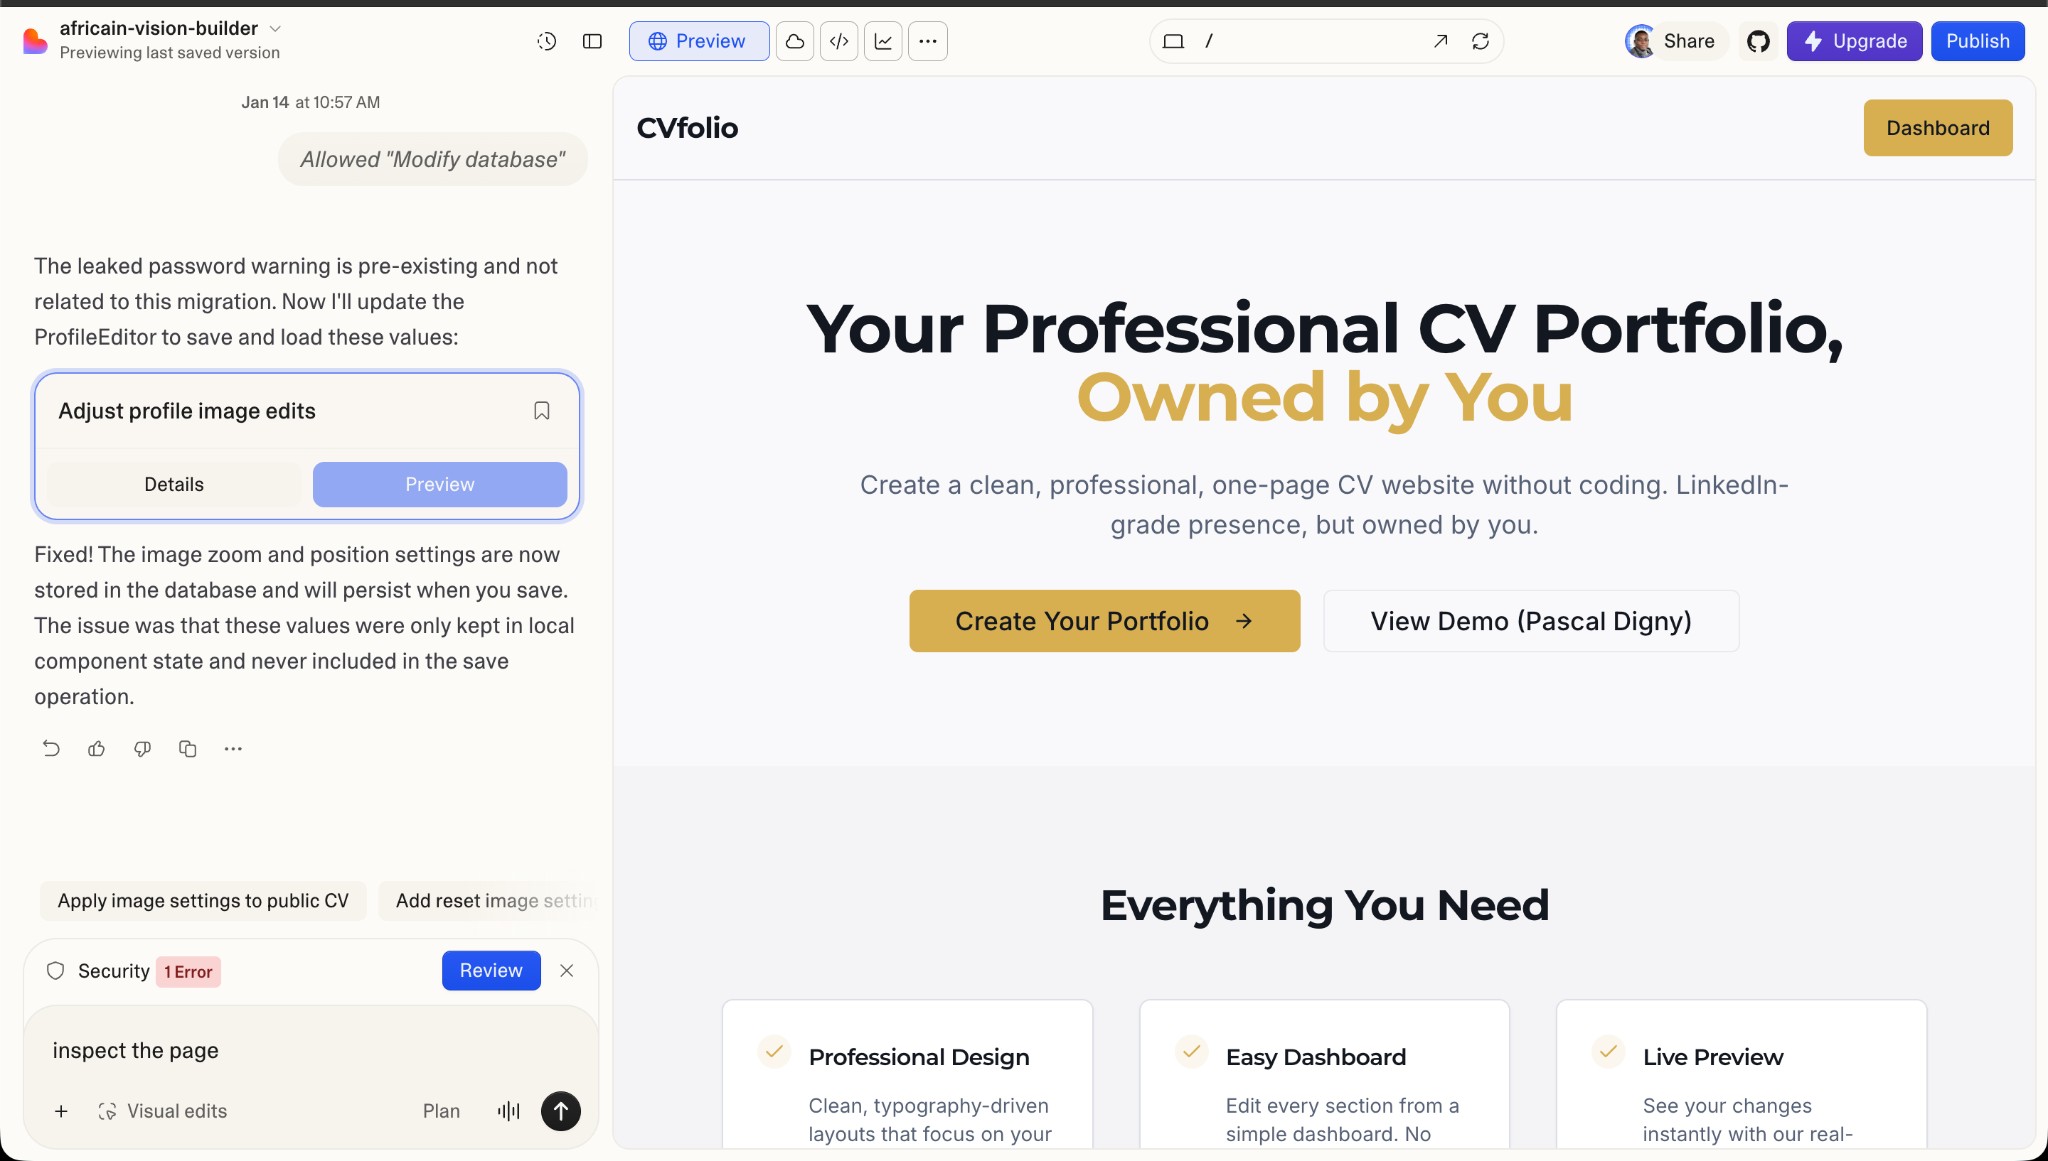
Step 6 — Review and Iterate
What to do: Check the preview. Ask for changes in the chat: e.g. "Make the hero headline shorter", "Add a contact form", "Change colors to blue and white". Repeat until you’re happy.
Where to click: Use the preview area to see the site and the chat to request edits. You can also use ChatGPT to polish wording, then paste the result into Lovable.
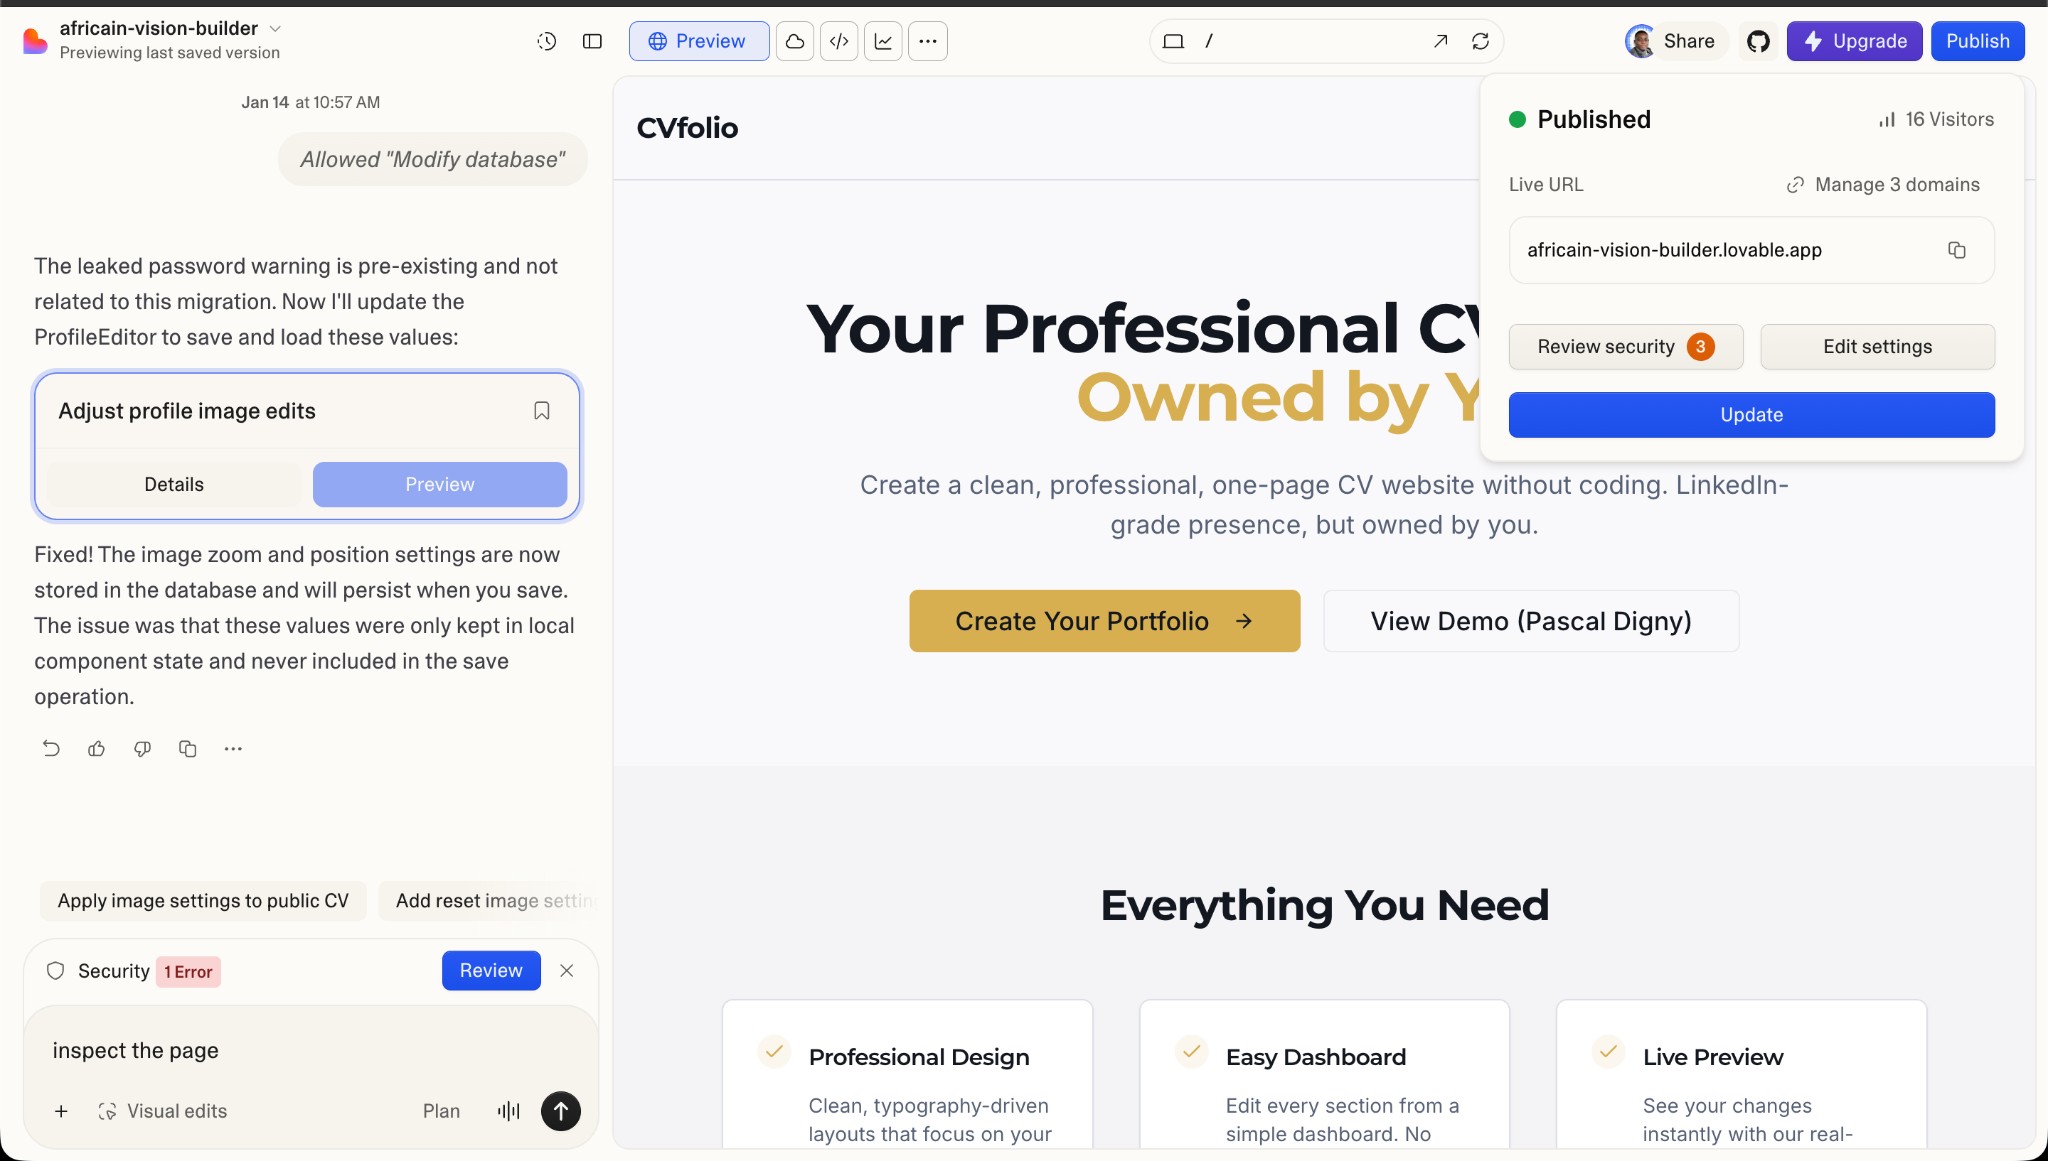
Step 7 — Publish Your Website
What to do: Publish your project so it’s live on the web.
Where to click: Click the Publish icon (usually in the top-right of the project). In the publish panel: (1) Confirm or edit your site URL (Lovable gives you a default like [your-project].lovable.app). (2) Set who can visit (e.g. anyone with the link on free tiers). (3) Optionally set title, description, and preview image for SEO and sharing. Then confirm publish. Your site will be live at the given URL.
Summary: How to Create Your Business Website for Free with AI
- Go to www.lovable.dev and sign up.
- Prepare a short PRD or requirements doc (or use ChatGPT)—pro tip to reduce AI hallucination.
- Create a new project and describe your site in the chat.
- Review the preview and iterate with more chat instructions.
- Click Publish, set your URL and metadata, and your site is live.
That’s the full path for website creation for free with AI. You can do it all on Lovable.dev; using a doc and ChatGPT is optional but recommended for better, more consistent results.
Keywords You Can Use When Searching
If you found this guide by searching how to create a business website, website creation for free, or how to create my business website, you’re in the right place. We focused on how to create a business website for free with AI using Lovable.dev so you can go from zero to a published site with minimal cost and no code.
Need a custom business website or AI-powered tools beyond a simple builder? Book a consultation with Digni Digital to discuss your project.
Tags
Ready to Transform Your Business?
Let's discuss how these insights can be applied to your specific challenges.
Book Your Free Consultation